How to Grow Mini-Melons On a Trellis
If you don’t have room for sprawling melon plants to ramble across all the pathways in your garden, give trellising a try.
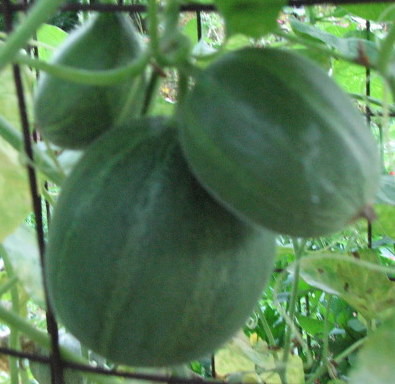
Lightweight melons are perfect for trellising because they do not strain the stems of the plant as they dangle. Each melon is approximately a single serving size but because the smaller size requires less energy, the plant is able to produce more melons than a regular cantaloupe or honeydew.
If you’ve never thought dessert could be single servings of ice cream in a melon half bowl, or that a melon was a reasonable size to tuck into a lunch box — think again!
Trellised melons take up so little space when grown upright instead of across the ground, other crops can be tucked closely around them. If you fertilize your garden, make sure each plant has 1 – 2 square feet of space to spread its roots. If not, make sure it has 3 – 4 square feet of space.
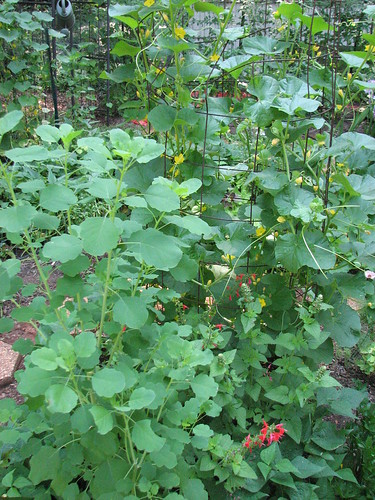
I use the same concrete reinforcing wire trellis, or cage, that works with my tomatoes. Some of my heirloom beefsteak tomatoes are actually heavier than the melons! You can buy concrete reinforcing wire in rolls at your local hardware store. Make sure the holes are large enough for you to easily fit your hand through, the kind I use has 6″ x 6″ holes and is 5′ tall. Cut off 5′ – 6′ segments of the wire, bend into a cylinder, and secure with wire ties to create a sturdy cage for your tomatoes. For melons I like to create a slightly larger cage using a 7′ strip of wire. That way I can seed at least 4 plants on a single trellis.
You can also use an ornamental garden arch or a sturdy commercial or homemade trellis. Just make sure it is at least 5′ tall and won’t fall over when your melons begin to ripen and weigh it down.
Work your soil and push the trellis into the ground prior to seeding the plants. Then tuck your seeds around the base of the trellis 1′ – 4′ apart. Lightweight, fertile soil that is rich in organic matter can support more melon plants than heavy, unfertilized soil. I like to grow at least 2 plants per trellis, directly across from each other, so that the trellis does not get heavier on one side than the other. If you feel your trellis is not sturdy enough, use a rebar pole as an additional stake and tie the cage to it.
Melons do not like to dry out so make sure your irrigation is consistent all season.
Finding melon varieties that work is a little more of a challenge unless you know where to look. The seeds are rarely available in large garden centers or feed & seeds. They are easy to find from mail-order catalogs, though.
Though I have started to avoid Johnny’s Selected Seeds more and more because of their prices’ consistent climb, they do sell a charentais called ‘Savor’ that is one of my favorites. It is also available from Scheepers Kitchen Garden Seeds for a slightly more reasonable price.
But mini-melons don’t have to break the bank — I haven’t found a single variety yet that didn’t have delightful flavor and aroma. The Asian ‘Golden Sweet’ is absolutely tiny at only 3″ – 4″ per melon, and the flavor is outstanding. ‘Minnesota Midget’ is also tiny at 4″ with the addition of compact vines.
‘Jenny Lind’ is a popular melon at around 2 lbs, softball-sized ‘Sakata’s Sweet’ makes the perfect single serving, and 1 lb ‘Tigger’ is a winner of taste tests.
In most areas you can direct seed your melons right at your frost-free date. If you live in a particularly cold region make sure your soil has warmed up. Melons are susceptible to powdery and downy mildew which tend to hit later in the summer so the earlier you can plant, the better.
3 thoughts on “How to Grow Mini-Melons On a Trellis”
Comments are closed.


Pingback: How to Grow Vegetables (Archive Directory) | Appalachian Feet
Pingback: How To Build A Simple Trellis For Melons | bestgardentrellis
Pingback: A Frame Tomato Trellis Dimitra Designs Greenville Sc